画像に動きのある加工を行い作成します。
手順
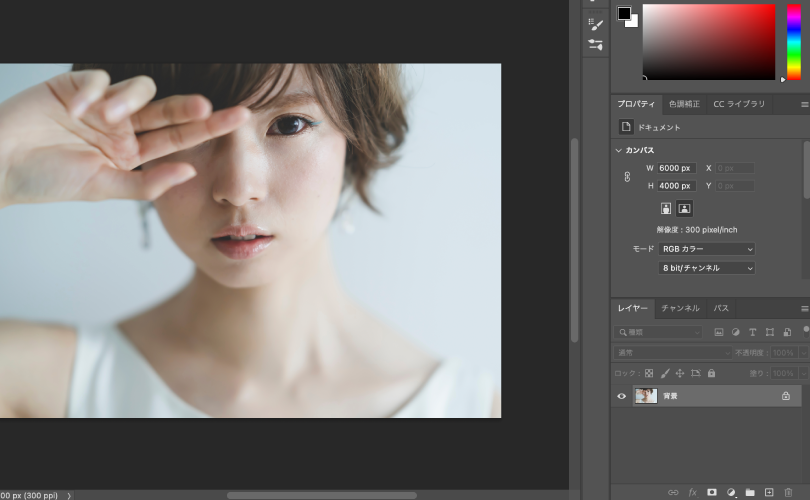
ベースとなる画像をPhotoshopで開きます。
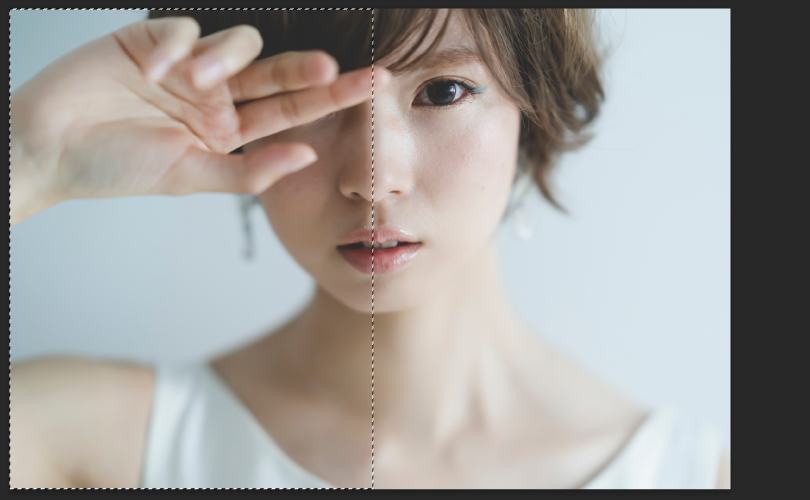
動きをつけたい部分を選択し、command+Jを押しレイヤーを複製します。
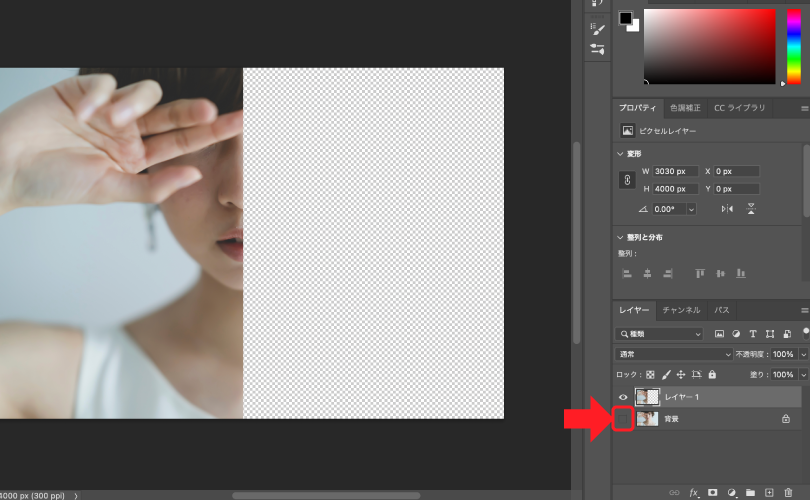
作業をしやすいよう、背景の画像を非表示にします。(必要ない人は表示のままでOK)
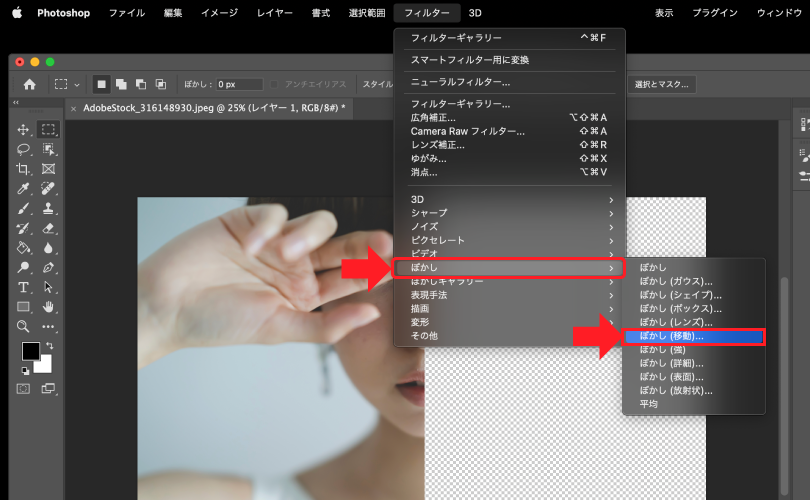
上部メニューから、フィルター→ぼかし→ぼかし(移動)をクリックします。
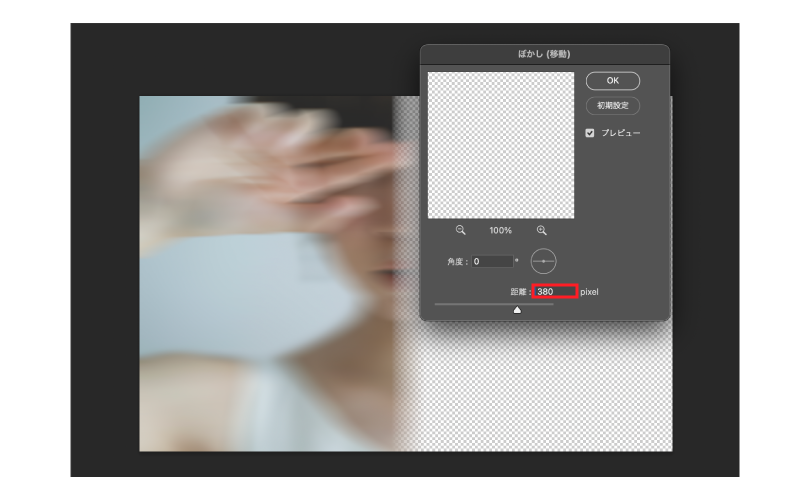
距離の数値を変更します。
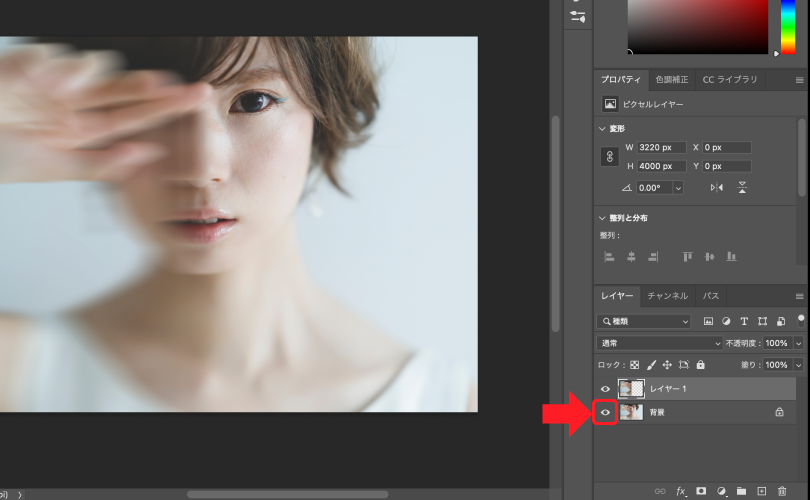
背景を表示にします
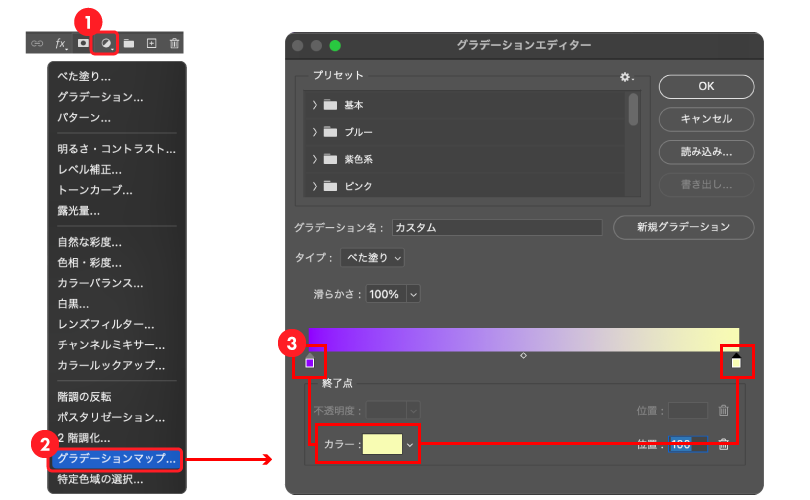
①レイヤーパレットの下部にある「調整レイヤー」をクリックします。
②グラデーションマップ…をクリックします。
③「グラデーション」を変更します。(お好みで色を変更してください)
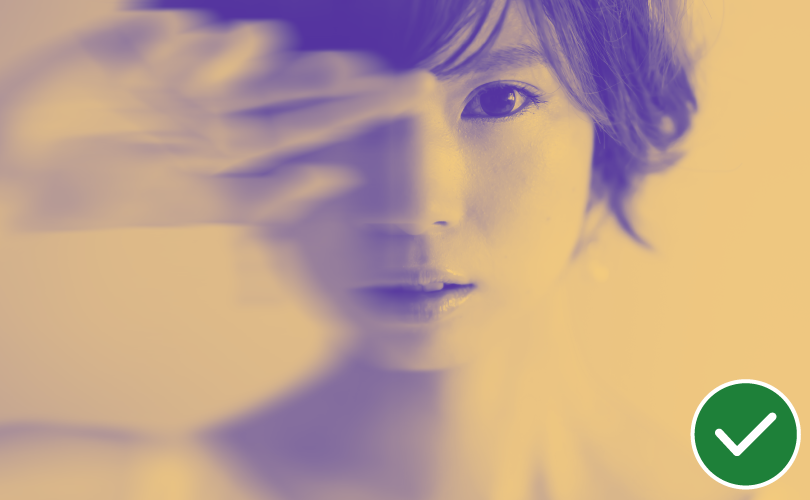
これで完成です。